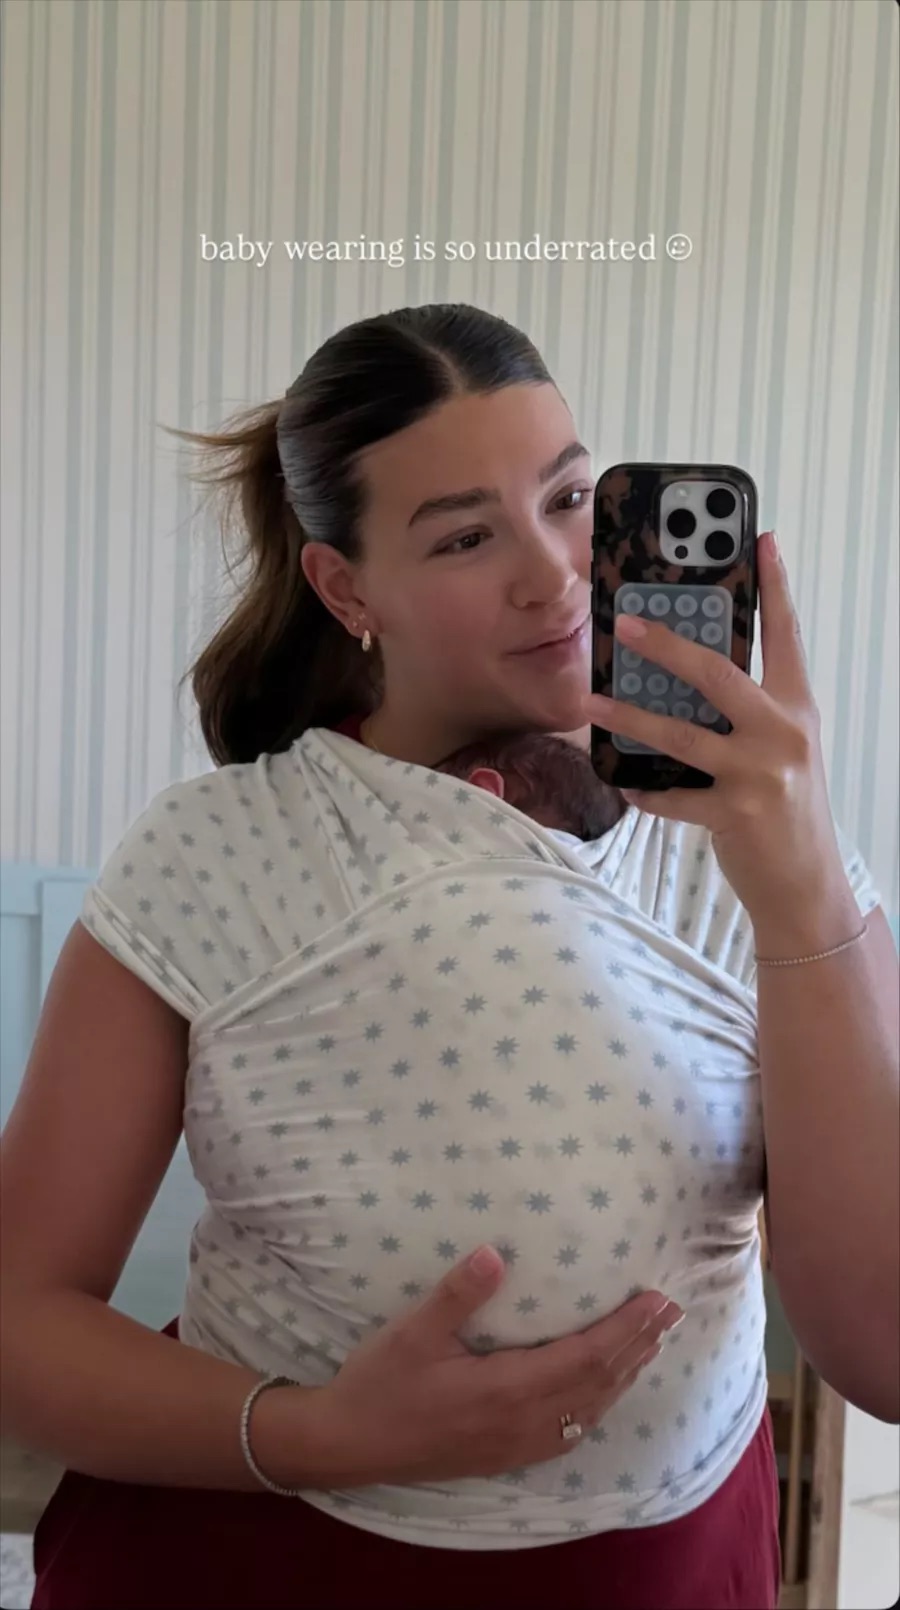
Hi girls! One of the questions I’ve been getting a lot lately is how I use my Solly Baby wrap – and I totally get it. It can feel a little intimidating at first, but once you get the hang of it, it truly becomes second nature! I’ve been using the Solly since my first baby, and now with our second, it’s become even more of a lifesaver. Whether I’m wearing baby around the house while chasing a toddler or getting out the door for a quick Target run, this wrap gives me that closeness I crave while still keeping my hands free. If you’re a new mama or just need a refresher, I hope this helps make wrapping feel a whole lot easier! Video tutorial HERE
Wrapping the Solly:
Step 1:
Find the tag in the center and place it right below your bust. Wrap the fabric around your waist, cross it behind your back, and bring it over each shoulder.
Step 2:
Make sure the fabric forms an “X” across your back. Take a second to straighten it so it’s laying flat — this helps distribute the weight more comfortably.
Step 3:
Grab the two shoulder strands and tuck them under the part that’s wrapped around your waist (the section with the tag).
Step 4:
Pull those ends down, cross them over each other, wrap around your waist, and tie in the back (or front, depending on what’s most comfortable).
Adding Baby:
Once it’s tied, you should have three “straps” across your torso — two from your shoulders and one horizontal across your tummy.
Step 1:
Open the strap closest to your body and gently slide baby in, bottom first, with legs tucked in a froggy position.
Step 2:
Take the opposite shoulder strap and pull it over baby’s back and shoulder, securing them snugly.
Step 3:
Finally, lift the horizontal waist strap (the one with the tag) up and over baby’s bottom and back for extra support.
And that’s it! Baby should be high enough to kiss, and their airway should be clear at all times. I always double-check everything feels secure and that baby’s head is supported.
July 16, 2025

leave a comment
Share post: